I seen this cute idea on pinterest to make a snowman out of 3 different sized wreaths. Theres was a bit different than mine but I just kinda did it as I went along.! Its such a great idea because you can leave it up for as long as its cold outside! I love Christmas decorations but I feel like I should take them down before December even gets over! So a snowman is a great idea!
I just laid them out in a row to wire together.
Wrap the wire around to the back side so its not showing and twist it tight so they stay close together.
I added a few bells to the crafting wire in place of buttons
Tied some fabric for a scarf
I think he turned out cute, but I cant decide if I want to put a beanie on him or not!!
Showing posts with label ~CaMi. Show all posts
Saturday, December 10, 2011
Tuesday, October 25, 2011
MuCh nEEded upDate!!
This post is much needed! We have all been so busy with a new baby, jobs, and keeping up with our kids! Here are 3 of the newest things I have reDONE! ENJOY!
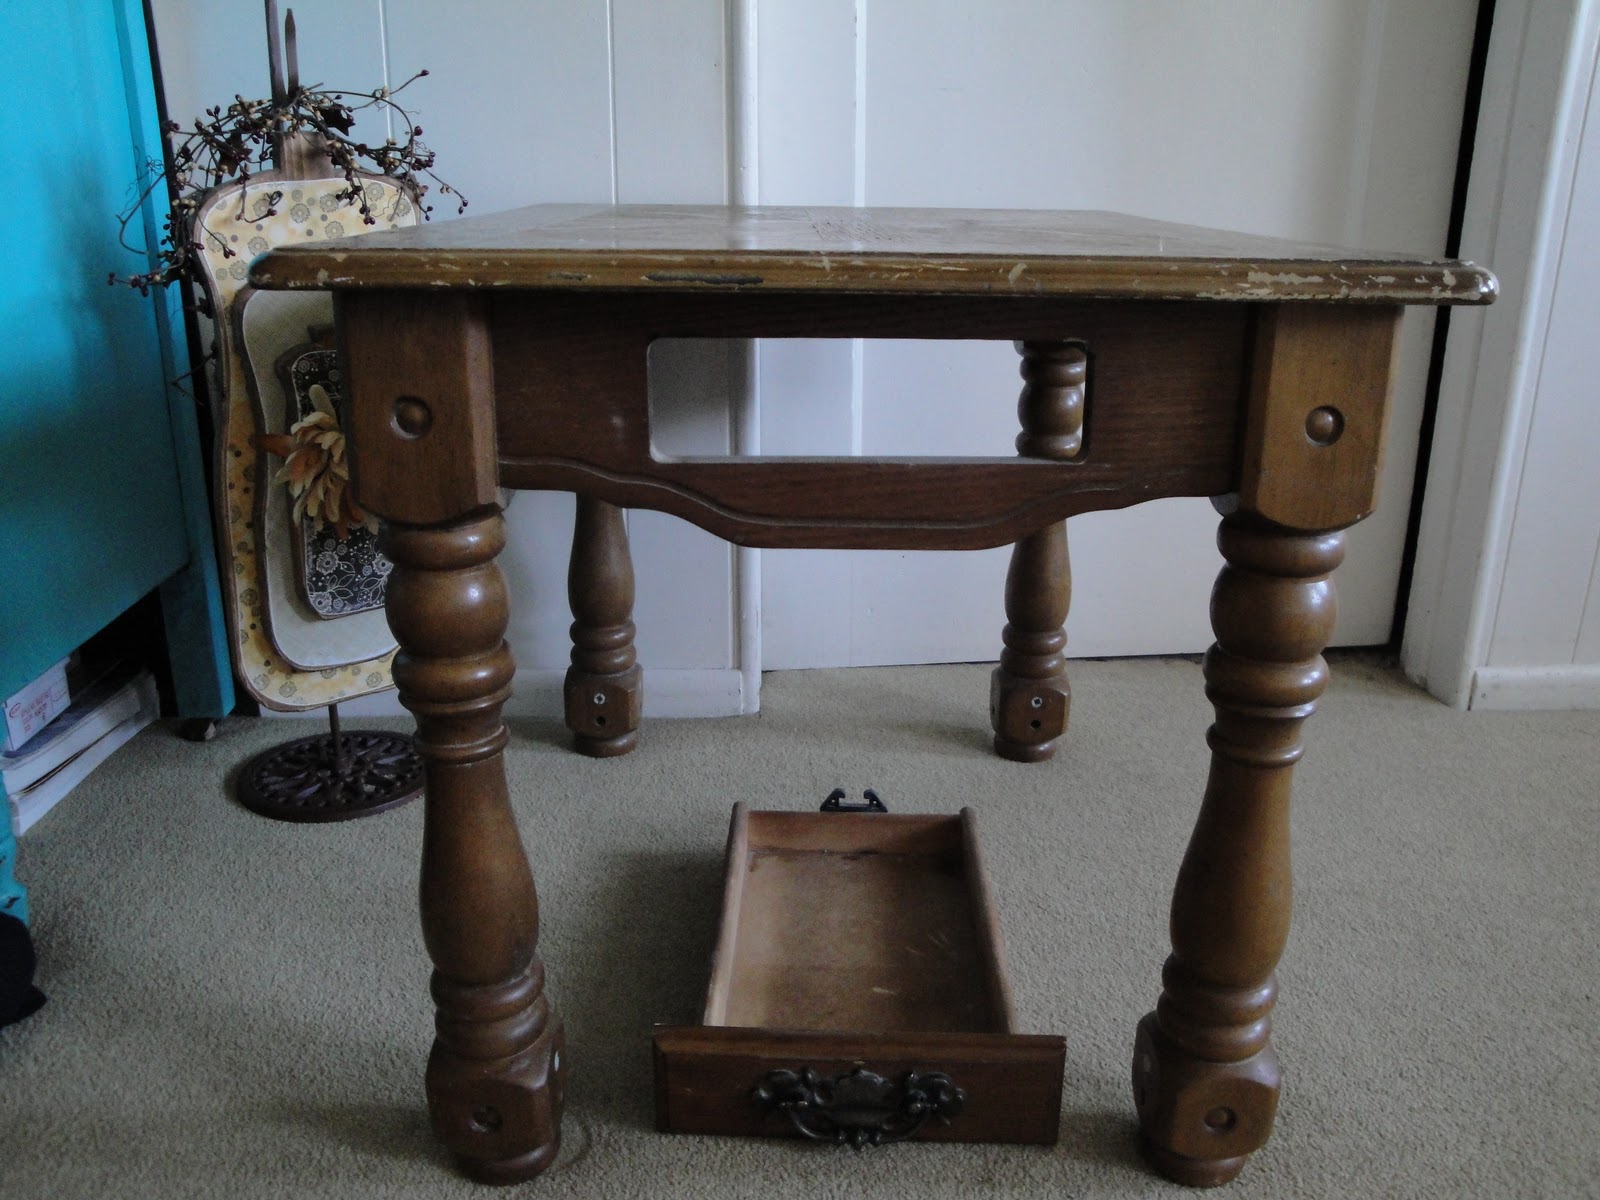
My sister in laws mother had this little side table at her house and wasnt using it! I seen it and HAD to have it! It has so much potential! Here is what it looked like before I starting tearing it up!
Dont you LOVE all that detail?? Cuz I sure do! I started off by cleaning it with soap and water. Got it all primed and sanded.
Then on went the paint!
All glazed up!
I am using it for my daughters tv for her bedroom! I LOVE how it turned out! I just realized that I do not have the handle on it. Its the original handle, just black!
Next up...!
I seen an idea on pinterest to make these little holders for your dish soaps and scrubbies. I made this for a cookie or cupcake holder! Or even for a CAKE!
I got this cute plate from my sister, which she got from the St George D.I. (im not sure if its a plate or not, it reminds me of a oven topper)!
This next piece was part of an old lamp, I also have some old candle holders that I am going to use for a few different ones, but I like this big chunky one the best!
It started out this UGLY gold color!
(left-old lamp right-candle stick)
I primed it up, and painted it a light green, added black glaze and WAAH-LAAH!
Perfect holder for cupcakes and my cookies!
KITCHEN TABLE!
I had to google this picture because I dont have a before picture of my table. This is exactly what mine looks/(or should I say LOOKED like) except mine had a big spill of black paint in the middle.. haha thats another story.. Anywho, I sanded it all down to remove the clear sealant that was on the table. I primed and painted! I did it this pretty tan color, I wanted something warm that would match pretty much anything!
After I let this dry I added my black glaze! Can you tell that I am pretty much OBSESSED with black glazing?! Its my favorite!
and... another.....
Im thinking about putting a black damask pattern on the top, I just havent got that far yet. Although I do like this! So its staying this way for now! My chairs are solid black!
My sister in laws mother had this little side table at her house and wasnt using it! I seen it and HAD to have it! It has so much potential! Here is what it looked like before I starting tearing it up!
Dont you LOVE all that detail?? Cuz I sure do! I started off by cleaning it with soap and water. Got it all primed and sanded.
Then on went the paint!
All glazed up!
I am using it for my daughters tv for her bedroom! I LOVE how it turned out! I just realized that I do not have the handle on it. Its the original handle, just black!
Next up...!
I seen an idea on pinterest to make these little holders for your dish soaps and scrubbies. I made this for a cookie or cupcake holder! Or even for a CAKE!
I got this cute plate from my sister, which she got from the St George D.I. (im not sure if its a plate or not, it reminds me of a oven topper)!
This next piece was part of an old lamp, I also have some old candle holders that I am going to use for a few different ones, but I like this big chunky one the best!
It started out this UGLY gold color!
(left-old lamp right-candle stick)
I primed it up, and painted it a light green, added black glaze and WAAH-LAAH!
Perfect holder for cupcakes and my cookies!
KITCHEN TABLE!
I had to google this picture because I dont have a before picture of my table. This is exactly what mine looks/(or should I say LOOKED like) except mine had a big spill of black paint in the middle.. haha thats another story.. Anywho, I sanded it all down to remove the clear sealant that was on the table. I primed and painted! I did it this pretty tan color, I wanted something warm that would match pretty much anything!
After I let this dry I added my black glaze! Can you tell that I am pretty much OBSESSED with black glazing?! Its my favorite!
and... another.....
Im thinking about putting a black damask pattern on the top, I just havent got that far yet. Although I do like this! So its staying this way for now! My chairs are solid black!
Monday, August 15, 2011
**OLD rOcker**
I went to a few yardsales a few months back and I fell in LOVE with this old rocker! It was just hangin out in the corner and I was so excited to purchase it! It looked good as it was, (minus the major scratches in it).. but of course I couldnt keep it that way! I could see the potential this guy had!
**LiTTle rEd hUtch**
My sister gave me this red hutch of hers! I was so excited to get it! I usually would have kept it red, since my favorite house color was red for the longest time! I decided to do it a neutral color so I could use it anywhere in my house! (and I was trying to get some different colors in my house) I sanded the red paint off.. (talk about a pain in the butt)! Then hand painted it with a roller and sponge brush. It took about three coats to cover it fully. The red kept seeping through even though I had sanded it. It was a pain but I sure do like how it turned out!
It had chicken wire on the doors, but I didnt want people to be able to see what was inside. I had looked for some baskets for quite a while to go in it, but never found any so this is what I came up with!
One day I will have a new house and this will be in my foyer! Until than, this is where it will have to stay!
Now I can hide all my goodies inside without anybody being able to see all my junk!
Wednesday, July 27, 2011
**GlaZed & "PURTY"!**
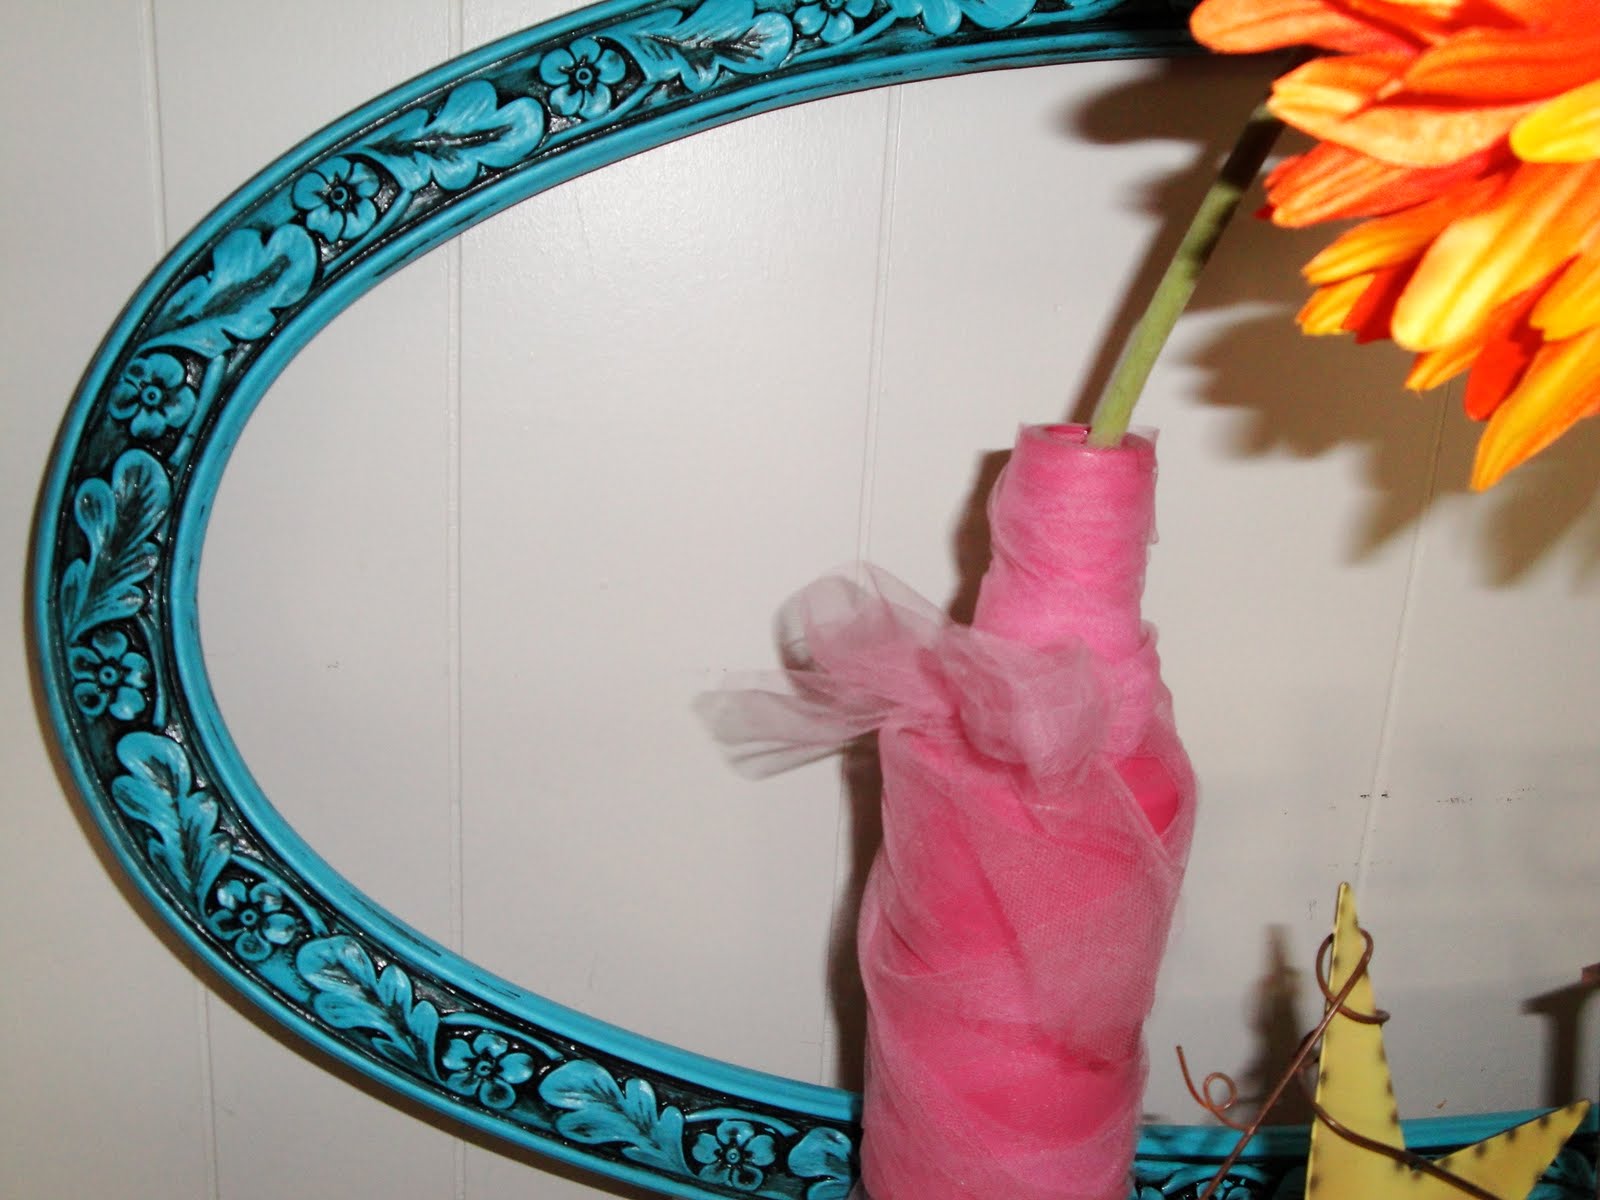
I finally had a little catch up day today! So I got this frame all glazed and "purty"! This was an old gold frame I got from our local Friday store. I painted it turquoise and glazed it with black glaze! I like how it turned out. Although, I am still going to add something on the back. Either material or a chalk board. What do you all think?
**ReMeMber hEr?**
Everyone remember this little beauty? Well I finally got to work on her today! To refresh your memory, I got this gorgeous table from my mom. My brother and his wife borrowed our trailer to haul a load of my moms stuff to her in Oregon. Well, after they brought the trailer back my husband went out to load up some hunting stuff in it and there was this little table! I was so excited when I seen this! I was hoping it didnt belong to them. So I called up my mom and sure enough it was an old one that she no longer wanted! So I begged for it! Which my grandma wanted but never seen it and changed her mind! SCORE for me!!
....And here is the new HER!
So much detail!
On the top on the table there was some old leather. It was started to peel up so I just pulled it off and replaced it with this paintable wallpaper! Im glad I did cause I LOVE the look of it!
....And here is the new HER!
So much detail!
On the top on the table there was some old leather. It was started to peel up so I just pulled it off and replaced it with this paintable wallpaper! Im glad I did cause I LOVE the look of it!
Sunday, July 17, 2011
**ChanGing taBle**
(I always forget to take a before pic.. This was all brown like that top piece.)
My awesome sister in law found this changing table for me from a guy that is starting to sale thrift things over in Nephi. It is not real wood, so I had to play around with it a little bit! I ended up just priming it and painting it with a roller and a can of paint. I originally wanted to paint it green with black handles but I changed my mind. In case I have more kids, I wouldnt want to have to repaint the whole thing. (That is if its a girl next time!)
There is another green handle that goes on the bottom drawer, but when you have a 19 month old that has to be in the middle of everything you do! Sometimes they disappear with things you need at that moment!
Since I couldnt sand the edges I used a distressing stamp pad. Cant wait til my little guy gets here now so I can use this lovely new addition!
Friday, June 17, 2011
**!OLD WindOw!**
My friend Shelby is gettin married next month and this weekend is her bridal shower! She is doing a vintage theme so I wanted to do something OLDISH for her! My sister Tera purcahsed these cute old windows from a girl here in town and so we put our heads together! It still has the glass in it so I was really excited! I wanted to put something special on the window so she could use it all year round! After a TERRIBLE experience with trying to get some vinyl cut at a local store, I ended up using a cricuit to cut out these letters!.. The vinyl that I had purcahsed first was such a cute blue color and would have matched this window soo cute! but, when I went to pick up the vinyl it was not the lettering I had chose, and was sooo NOT cute.. I was upset at first cuz her shower was in 2 days and I wanted this to be perfect for her! All in all, I think it turned out pretty cute! I just hope she likes it!!!
This window is sooo OLD! The blue on it is the original paint..
I added a little decoration to it! Just to make it look more like a gift! The blue lace on top is to hang it off of. If she doesnt like the lace she can always pull it off!! I now need to find me an old window so I can put one up in my house!!
Thursday, June 9, 2011
***and the WINNER is....!!***
and the WINNER is..................
CARRI @ REDEFINING C.
CONGRATS! PLEASE COMMENT OR E-MAIL US LETTING US KNOW WHAT COLORS YOU WANT YOUR RECIPE BOX!! ONCE WE REACH ANOTHER 25 FOLLOWERS WE WILL DO ANOTHER DRAWING FOR SOMETHING CREATIVE & CRAFTY! THANKS FOR ALL YOU FOLLOWING AND SUPPORTING OUR BLOG!
Wednesday, June 8, 2011
WE REACHED OUR 25TH FOLLOWER!!
NOW THAT WE HAVE REACHED OUR 25TH FOLLOWER WE WILL BE DOING A DRAWING FOR A RECIPE BOX! THE WINNER WILL BE ABLE TO PICK THE COLOR THEY WANT IT! WE THEN WILL DECORATE IT FOR YOU AND STICK IT IN THE MAILBOX!! WE WILL DO THE DRAWING TOMORROW AT NOON! THANKS FOR EVERYONE SUPPORTING US!! ..and GOODLUCK!
Monday, June 6, 2011
**MiRRoR MaKeoVer**!
I have heard a little bit about people using book pages to make wreaths out of.. I bought a wreath (see last post) at our Friday Store last week and was going to try it. I decided I liked the look of that old stickly wreath so I ended up using it for a different project... I got this mirror from my brother for Christmas a few years back and I loved it when I had a lot of dark colors in my house, but now that I have added a little bit of color to my house I dont like it being so dark. So the transformation began.. I also bought a very old book that was a little beat up.. (that way I didnt feel so bad ripping out the pages).. I wasnt quite sure how to fold the pages or if I was suppose to wrap.. I just plain didnt know.. I tried wrapping it around my finger but the tip of my nail went right through the end.. a pen was too little.. folding it into 4's just didnt look right.. I then found a marker that was prob 1/2 an inch thick and tried that.. That worked the best.. a few pages even ripped through so I had to be careful.. but the look of it turned out just how I wanted!! The only sucky thing is that I ran out of pages when I got to the end.. So in these pics you can see the bottom isnt as full as the rest.. I had to spread them out a bit more. So, until I find a book that matches my pages I am leaving it like this!!
The finished product! (besides the very bottom where I ran out of pages!) I L-O-V-E it!!
the dark mirror! (dont mind my messy child)
Rip out your pages! The older the book the better the color!
Wrap the paper in the center and crunch.. It helps to twist it a bit. Just not too hard or it will rip right through your page!
On the first row I put the pages way close.. The second row I did them about an inch apart.
Once your glue is dry you can pull on them and kinda FLUFF them the way you want them to lay!
Friday, June 3, 2011
**2 MinUte wrEAth!!**
Let me start off by telling you, "I am just like a kid in a candy store!" ... when it comes to our Friday Thrift Store here in town! Yet, anywhere cheap, thrifty.. you get the picture! I have always had something hanging on my front door.. I feel like its more welcoming when people keep they're doors decororated. Maybe im just weird but I always have felt like that! I have had stars on them for about the last 2 years.! I did have a Christmas wreath at one point but my husband hated it because it was so bolky ang big! When I was in Cedar City at my sisters house we decided that doing an initial of our last name would be cute! So we went to Joanns Craft Store and bought our cardboard letters for cheap! I think it was normally $4.00 or so.. (but if you use a coupon you can usually get off to 40% or 50% off! (SCORE)) I bought my material when I made my chair so I had some left over that I wanted to use to kinda blend the colors in my house! I cut slits into my material then ripped away! I love the way ripped material looks! I wrapped up my "F".. Not gonna lie it was kinda a pain. I didnt realize the diff. lenghts so I had to play around to get it to look right! So back to my Mintue Wreath! I scored with this $1.00 wreath today at our local Friday Store.. I wanted to try making a Book Wreath out of pages from a book, but this wreath was too cute to be covered up! I have been trying to decide where to put my "F" too because it dont stand up by itself! So when I got home it hit me!! I put 2 and 2 together and WAH-LAH!! I can say I LOVE it!
This is the cardboard "f" that I started with..
I started on the shortest sides to begin.. I think thats why it was such a pain because I had to tuck the other material to make the long side fit.. I had to tuck it.. Talk about a pain.
The wreath was kinda loose so I put some wire in 4 different spots.. Just to make sure it holds tightly together. You cant notice the wire in real life.. but in this picture its way noticable!
..and here she is..! I usually freak out if I think things look to plain, but I kinda like this plain cause I love the look of the branches of the wreath! Now we'll see what the hubby thinks when he gets home! Wonder if he will even notice!
Subscribe to:
Posts (Atom)